What is Compression in Music Production?
How to use compression to control volume and dynamics.


What is audio compression?
Audio compression applies gain reduction to control the dynamic range of an audio signal by making loud signals quieter and quiet signals louder. The process is applied using handful of settings found on an audio compressor.
The main controls of an audio compressor are the threshold, ratio, attack and release. By changing these controls, the compressor applies a specific level of gain reduction to certain loud signals, making them quieter and ultimately lowering the audio signal's overall volume.
Once the audio signal is compressed, make-up gain is applied to bring up the audio signal's volume uniformly. Let's explore how to use these settings in more detail.
Threshold
The threshold setting on an audio compressor determines the decibel volume at which the compressor will apply gain reduction.
If the threshold is set to 0.0 dBFS, the threshold is wide open and the compressor will not act on the audio signal because the audio signal cannot pass 0.0 dBFS.
You must set the threshold below 0.0 dBFS and the audio signal must surpass that of the threshold for the compressor to impact the audio signal’s volume.
Once your threshold is set below the peak volume, the compressor will only act on signals surpassing the threshold, so you need to be careful to set the threshold to a place where it makes sense for the compressor to interact with the volume peaks

Threshold controls where gain reduction starts
A lower threshold boosts the snare and kick
LANDR Samples Drum Kit Sample

Ratio
Once you set your compressor’s threshold, the next step is to use the compressor’s ratio setting to determine how aggressively it will apply gain reduction to “smooth” or “squash” your audio signal.
For instance, if you set your ratio to 2:1, your compressor will reduce any signal passing through the threshold by half of the amount it surpassed the threshold.
So, if your audio signal surpasses the threshold by 1 dBFS, it will be treated with gain reduction of .5 dBFS.
As you increase the ratio, the amount by which the compressor acts on your audio signal increases until the ratio approaches infinity, effectively limiting the signal volume to the threshold.

Ratio squashes an audio signal
Hear how the drums squash as the ratio increases
LANDR Samples Drum Kit Sample
Attack
Attack controls the speed at which gain reduction is applied to the audio signal and is mainly used to increase, or decrease the presence of dynamic transients in a mix.
Transients describe the waveform created by percussive sounds and can be either pleasing or unpleasant depending on what you want to highlight in your mix.
Shorter attack times produce near instantaneous gain reduction while longer attack times allow more time for louder audio signals to pass through the threshold.
If you want to hear more transients, increase the attack time to slow down the speed at which the compressor applies gain reduction. If you want to hear less transients, increase the attack time.

Attack controls gain reduction at different speeds
Vocals respond especially to attack times
LANDR Samples Drum Kit Sample

Release
Release controls the amount of time that gain reduction is applied when an audio track triggers the compressor to start working by passing noise threshold.
A longer release time will increase the amount of time that gain reduction is applied, lowering the overall volume of the track and reducing quieter sounds after the loud sound that triggered the gain reduction.
A shorter release time does the opposite, reducing the amount of time that gain reduction is applied, allowing the quieter sounds to shine through without as much (or any) gain reduction applied.
Release time impacts the “pumping” effect that compression can cause when shorter release times cause the audio signal to return quickly to its original volume.

Release controls gain reduction times
Longer release lets the cymbals through
LANDR Samples Drum Kit Sample

Knee
The knee in a compressor is the point at which a compressor starts apply gain reduction to a track.
In charts that visualize compression, the angle of the knee determines the ratio of compression while the location of the bend signifies the threshold.
Most compressors use a hard knee, applying compression immediately at the threshold point.
But some compressors offer a soft knee setting, smoothing the point at which compression is applied to create a softer, less jarring response.
This makes the compressor’s attack less pronounced near the threshold, creating a clear, smooth sound ideal for softer sounds like vocals and certain instruments.

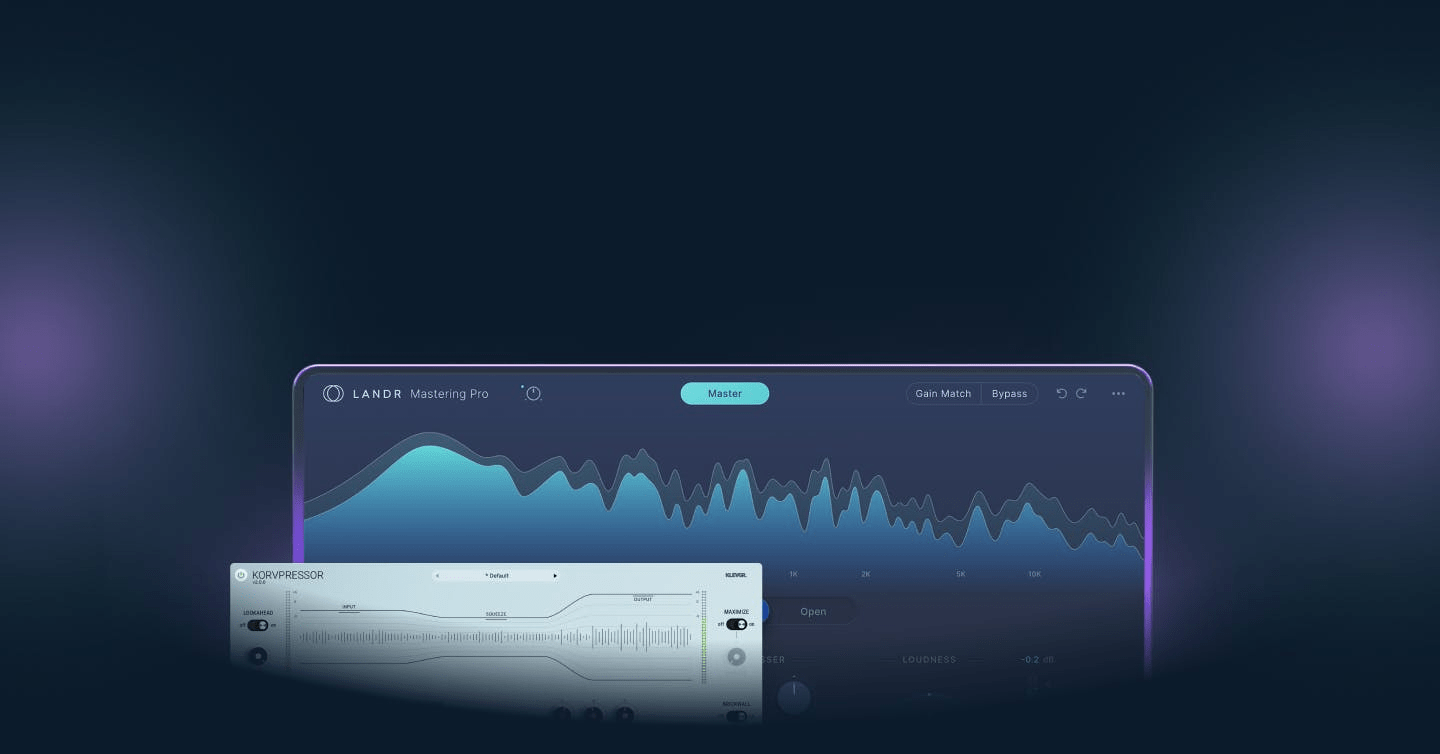
Try LANDR Mastering for free
Knee controls gain reduction levels at the threshold
A soft knee can make vocal compression transparent
LANDR Samples Vocal Sample

Multiband compression
Multiband is a slightly more advanced audio compression technique that adds another dimension by incorporating target frequency bands to where the compressor applies gain reduction.
If you want the compressor to act on a specific frequency spectrum, say the highs of a drum take, you must use a multiband compressor that only applies gain reduction to that frequency spectrum.
Multiband compression is great for many mixing tasks, especially whenever you want to leave a specific frequency area untouched, while permitting a compressor to reduce gain on certain frequencies.

Multiband compression reduces gain on certain frequencies
Reduce high frequency gain to keep the bass clear
LANDR Samples Vocal Sample
Makeup gain
Contrary to popular belief, compression does not increase the volume of an audio signal. Compression decreases the overall volume.
That’s why make up gain is applied after an audio signal goes through a compressor, to uniformly raise the volume of the entire, now compressed, audio signal.
If you apply compression and then raise the gain of an audio signal, it will sound louder than the original, but it will also sound more uniform and less dynamic.
Make-up gain essentially brings out the work that the compressor, highlighting quieter sounds while dialing back distracting loud sounds.

Make up gain raises the volume of compressed audio
Hear the effect of compression with make up gain
Guitar recording

How to use audio compression

Mixing drum recordings
Compression is great for improving the tone and rhythmic playing in drum track because it interacts with the many transients in a drum recording.
If your drums aren’t punching through the cymbals, use compression with a long attack time and a short release time to bring out and fatten snares and kicks.

Smoothing vocal takes
If a vocal take has a lot of dynamic variance, compression can help smooth over variance in volume cause by mic distance, mic choice and natural fluctuation in the human voice.
Use compression to cut back harsher transients created when the vocalist starts a phrase or word, then with a shorter release time smooth the vocal take by lowering passages to match quieter sections.
Tighten instrument recordings
Many guitarists use compression since it interacts well with the stronger transients and long sustain of a strum or pluck of the guitar.
Compression can bring out the sustain of a string, allowing plucked notes to ring out longer with the help of a shorter release time and make-up gain.
But be discerning with how low you set the threshold, attack and release times since compression can make a significant impact on guitar tone.

Sidechain compression
Sidechain compression is a unique technique producers use to force elements in a track to “bounce” or “duck” in volume when a specific instrument, usually a kick, is played.
Sidechain compression is applied by placing a compressor on melodic instruments then triggering it whenever a percussive instrument like a kick is played, literally “sidechaining” a compression effect to an external instrument.
Used lightly, sidechaining can create space for the kicks to punch through. More extreme forms are used in electronic music where it’s important to make the whole mix “bounce” to kick

Compression in mastering
Aside from mixing, light touches of compression are also used during the mastering process.
Mastering applies compression to the entire track to bring the entirety of the track to specific loudness standards.
In this use case, compression is only lightly applied in certain areas using a low ratio to leave dynamic variance in the track without crushing track’s sound or negatively impacting the mix.
Learn more about mastering
Compression glossary of terms
Compression glossary of terms
dBFS (Decibels Relative to Full Scale)
A standard unit of measurement for audio levels in digital systems, where 0 dBFS represents the maximum possible level. All audio levels below this are measured as negative values. In compression, setting the threshold in dBFS determines at what point the compressor will start to act on the audio signal.
Ducking
A technique used in compression where the volume of one audio signal is automatically reduced by the presence of another. For example, ducking is often used in radio or podcasts to lower the volume of background music whenever the host speaks. In music production, this is often achieved using sidechain compression to create space for specific elements like a kick drum.
Dynamics
The range between the quietest and loudest parts of an audio signal. Compression is used to control and reduce this range, making the overall sound more consistent. Proper dynamic control is crucial for ensuring that all elements in a mix are balanced and audible.
Fixed point audio system
Fixed point audio system
A method of digital audio processing where audio levels are represented with a fixed range, typically 0 dBFS as the maximum. Unlike floating-point systems, fixed-point audio systems are more prone to clipping if levels exceed this maximum. Understanding this helps producers set appropriate threshold and gain levels to avoid unwanted distortion in their mixes.
Gain reduction
The amount by which a compressor lowers the volume of an audio signal that exceeds the threshold. It’s a crucial metric displayed on most compressors, showing how much the loud parts are being reduced. The more gain reduction applied, the more compressed and controlled the signal becomes.
Limiting
A more extreme form of compression where the ratio is set very high (typically 10:1 or higher), preventing the signal from exceeding a certain threshold. Limiting is used to completely prevent audio peaks from clipping and is often applied during mastering to ensure a track doesn’t exceed desired loudness levels.
Sustain
The part of a sound that follows the initial attack and decay, continuing at a relatively stable volume before the release phase. Compression can be used to enhance sustain by reducing the volume of initial transients and boosting the overall level, making the sound appear fuller and more prolonged, which is often desirable in instruments like electric guitars.
Transient
The initial, high-energy burst of sound at the beginning of an audio signal, such as the strike of a drum or the pluck of a guitar string. Transients are short but intense, and compression can be used to either highlight or tame them, depending on the desired sound. Adjusting the attack time of a compressor determines how much of the transient is affected.
Common audio compression mistakes
Applying too much compression
Over-compression happens when the dynamics of a track are squashed to the point where everything sounds flat and lifeless. Always A/B your mix with and without compression to make sure you’re not going overboard.
Improper attack and release settings
A fast attack can cut off the transients of drums, making them sound weak. But a slow release time can cause the compressor to hold on to the signal for too long, resulting in a pumping effect.
Compressing without purpose
Don't slap a compressor on every track because “that’s what you’re supposed to do,” compression should serve a specific purpose. Whether it's controlling dynamic range, adding punch, or glueing elements together, knowing why you're using a compressor on a particular sound is crucial.
Using compression as a fix-all
Use compression as a tool to enhance and control dynamics, not as a band-aid for poor recording or mixing. If a vocal is too inconsistent, it might be better to use automation first to get the levels closer before applying compression. If a track is muddy, EQ is often a better tool for the job than compression.
Forgetting to listen in context
It’s easy to solo a track and tweak the compressor until it sounds great on its own, but remember, the real test is how it sounds in the mix. Sometimes a track that sounds amazing soloed can get lost in the mix.
Too much master bus compression
Too much master bus compression can squash your entire track, leaving it lifeless. If you do use compression on the master bus at all it should be subtle, leaving room for shaping the dynamics at the mastering stage.